Menu
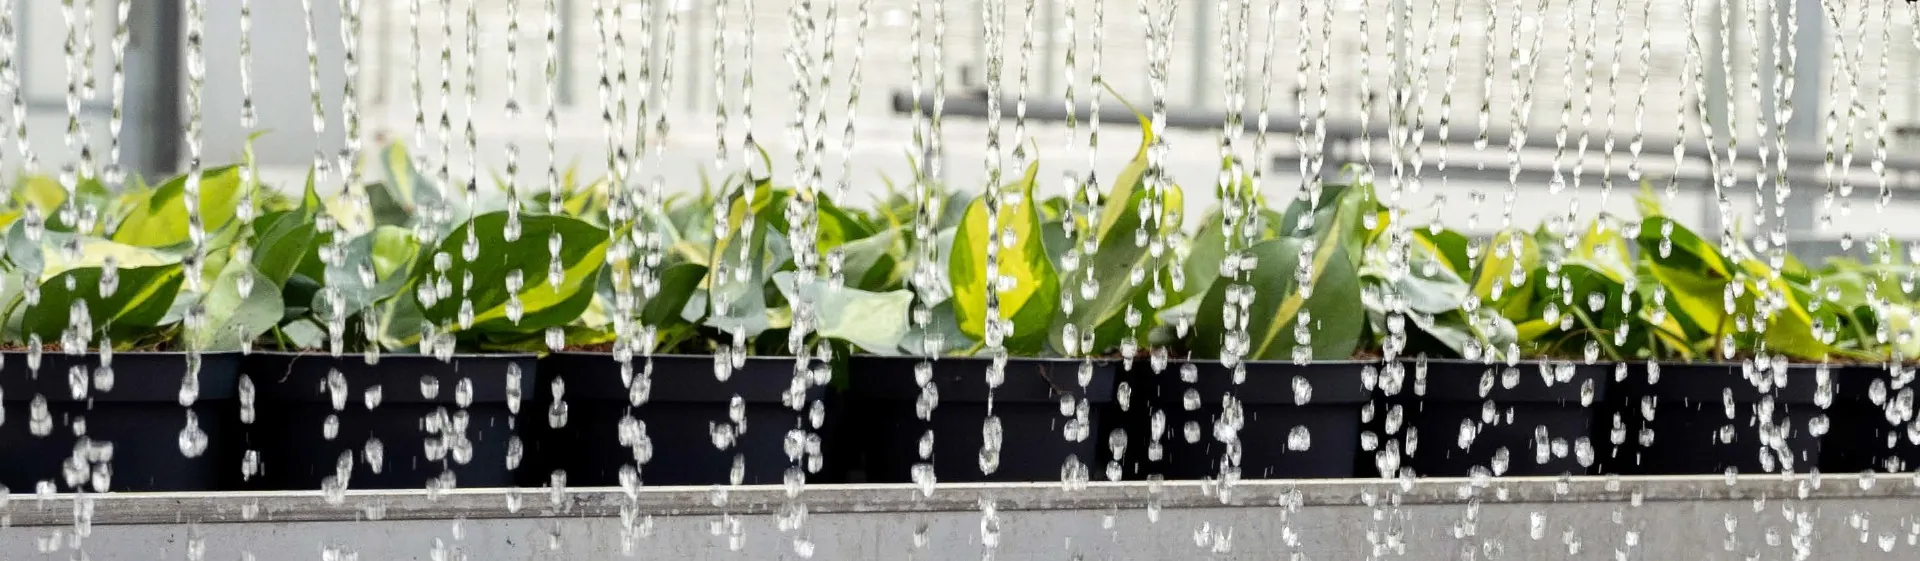
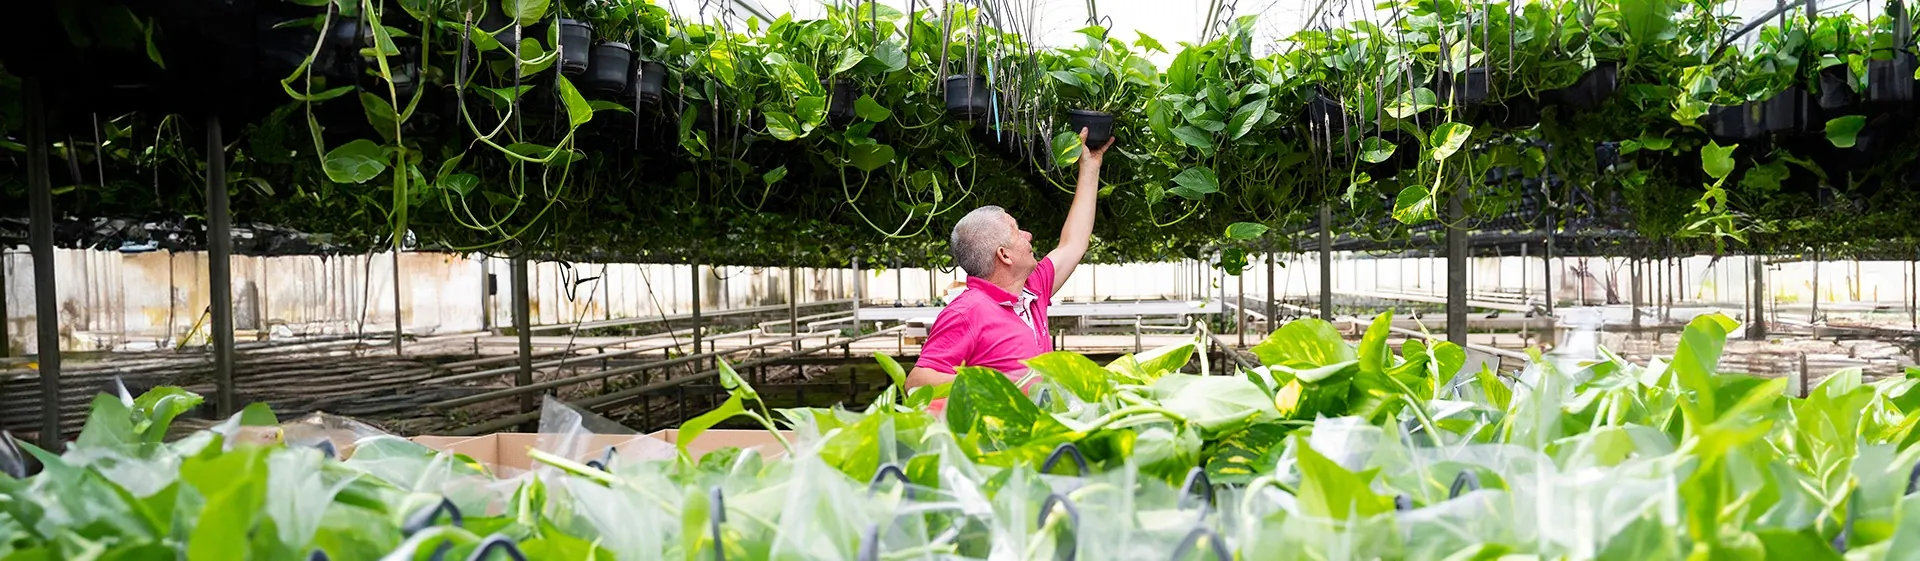
Sentinel takes sustainable development very seriously, and this includes the cutting of Scindapsus plants. Sentinel maintains a focus on the environment by developing products that can be used in sustainable fashion, even at the beginning of the process. Accordingly, Sentinel is frugal in its use of water, particularly during the cutting process, and at a later stage, Sentinel uses liquid food which is optimally suited to the plant and its size.
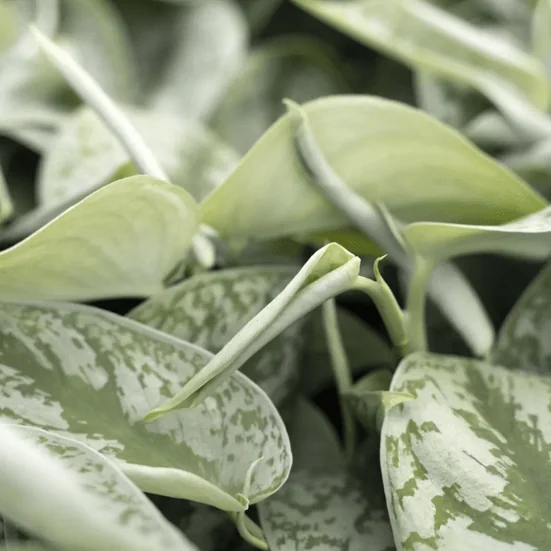
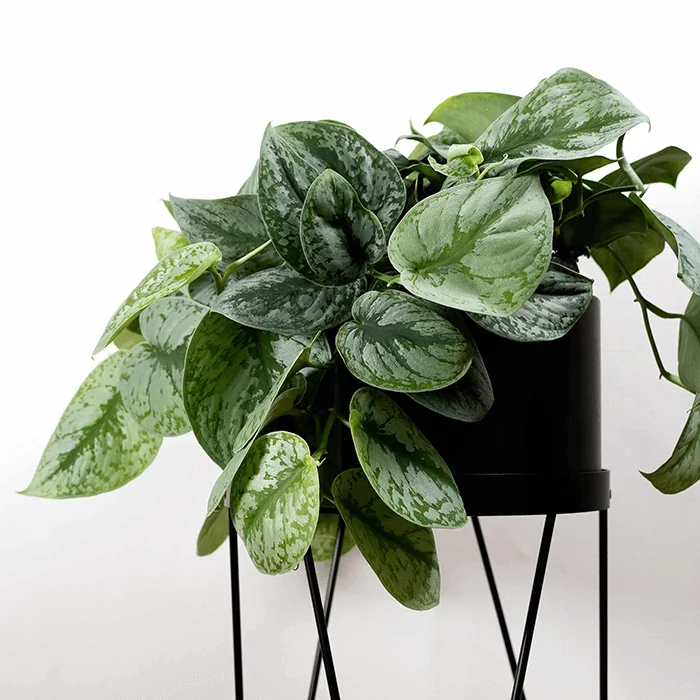
Not only is cutting a Scindapsus an enjoyable activity for the consumer, it is also a task that is altogether not difficult to perform. This plant creates aerial roots opposite each leaf. These aerial roots are small, brown dots on the stem that can eventually grow out to form roots. To cut a Scindapsus, all you need is a stem with these brown dots on it, as these will grow into roots if they come into contact with water.
There are two ways to cut a Scindapsus. You can place the stem in a glass of water for a while until the aerial roots have appeared, and then put it in a pot containing soil, or you can simply place the stem in a pot containing soil.

When cutting the Scindapsus, you should always begin by disinfecting your tools. In this case, you can use a knife or a scissors. It is important to disinfect your tools as this eliminates bacteria and maladies. Use the sterilised tool to cut the stem approximately one centimetre under the new leaf. Make sure that the stem you cut has at least 2 aerial roots. Leave a reasonably long stem towards the bottom of the stem. Remove the leaves at the very bottom of the cutting so you have a long shoot with one to two leaves at the top. This way, only the stem of the cutting will be submerged in the water, and the leaves will stay dry. The leaves must not be submerged in the water as this will cause them to rot. Using rainwater is recommended, but tap water can also be used. Make sure all aerial roots are submerged in water. Here, we are growing the roots for a ‘new’ houseplant.
Sometimes, it can take a long time before something happens, but this isn't always the case. It is therefore important to be patient during the cutting process. After a while, you’ll see the roots appear as they begin to grow out of the aerial roots. This is a good sign that the process is working in accordance with your expectations. Change the water every week so that the cutting can continue growing in fresh water. The roots should have grown in sufficiently after four or five weeks, at which time the cutting can be placed in the ground. Pack the cutting into the soil carefully - cutting soil is recommended - and be sure not to pack the soil in too tightly. You can also dip the cutting in some cutting powder (rooting hormones). Cutting powder provides an additional boost and ensures that the plant grows in more lavish fashion. If you desire a fuller plant, you can place several Scindapsus cuttings together.
It is also possible to place the Scindapsus cutting directly in the soil after you have removed a cutting using a sterilised tool. The disadvantage to this is that you will have to constantly keep an eye on the Scindapsus cutting. Don’t have time to check regularly as to whether the soil is sufficiently damp? Then we recommend placing the cutting in a glass of water until the aerial roots have grown out fully.