Menu
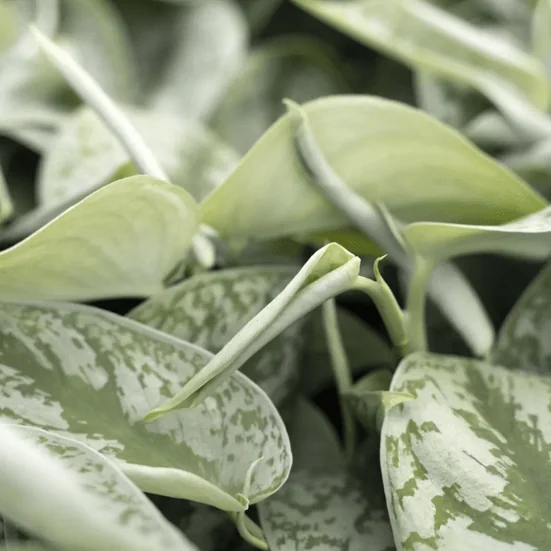
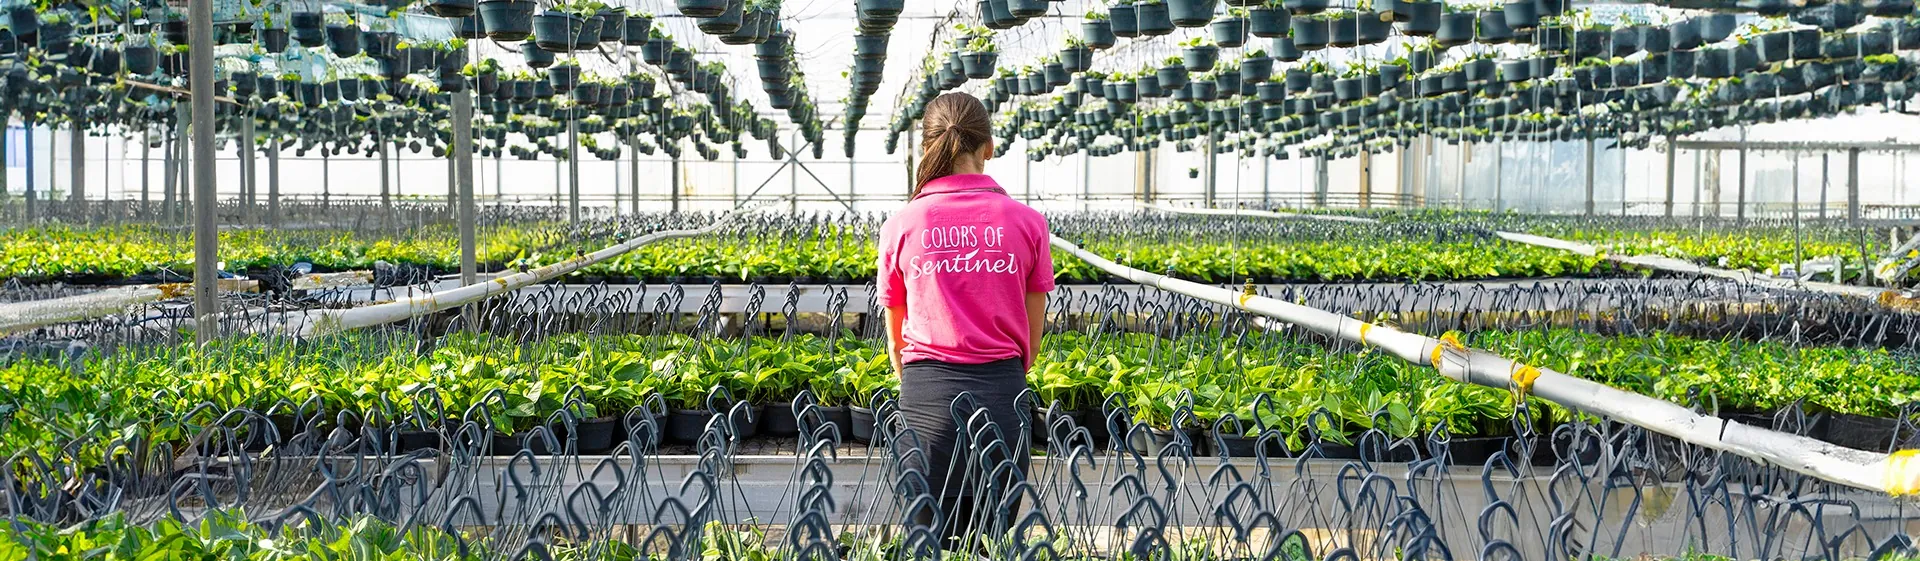
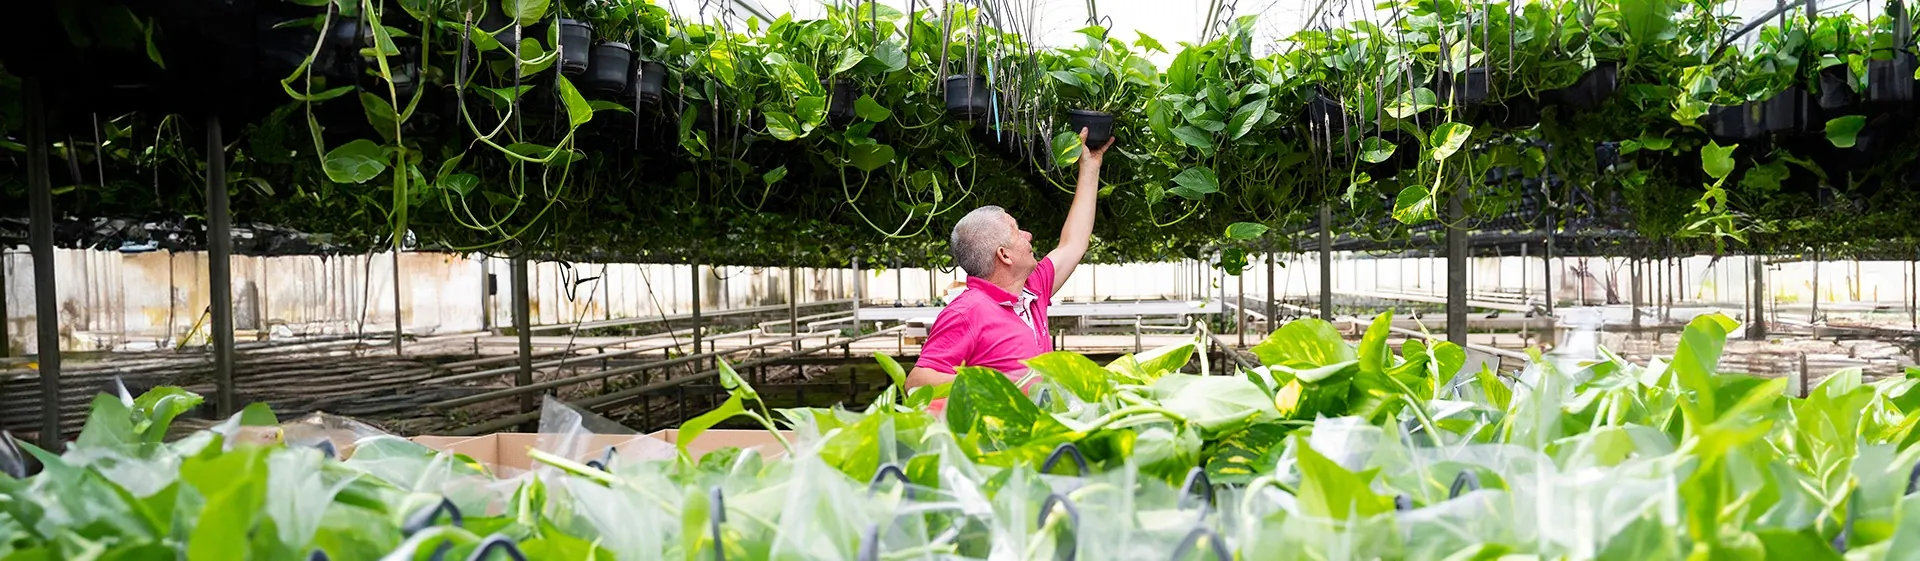
Before the trucks leave the nursery in Sprang Capelle, fully-loaded with sturdy Scindapsus pictus plants, an entire process has already begun. A process that starts with cutting. And although this modern nursery is automated to a significant degree, cutting remains a task which is performed manually. The cutting is placed by hand directly in the pot, where it will take root provided the humidity conditions are within the correct range.
The consumer should be aware that cutting a Scindapsus plant is not very difficult. In fact, it’s quite an enjoyable activity, since it can nearly always be performed successfully. All you have to do is cut a piece off of the mother plant and then place this cut tendril in the water to allow the Scindapsus pictus cutting to develop roots. Not much can go wrong here, but there are number of things you have to watch out for.

The process of cutting a Scindapsus pictus can be summarised in a number of steps, which we shall explain in detail. It is important to know that the roots do not grow from the end of the shoot which has been cut, as is the case with many plants. Instead, they grow from the knob-like aerial roots located opposite each leaf on the stem of the Scindapsus Pictus. Sometimes, you’ll notice that a small root has already grown out, but usually this is just a small brown lump on the stem. This lump must be completely submerged in the water so that the roots can grow out. It is important to clean the tools you're going to use before doing any cutting. This way, you eliminate bacteria and maladies that can otherwise make your plant sick. You can use a scissors, a small knife or pruning shears. It’s always best to sterilise these with a little alcohol before use.
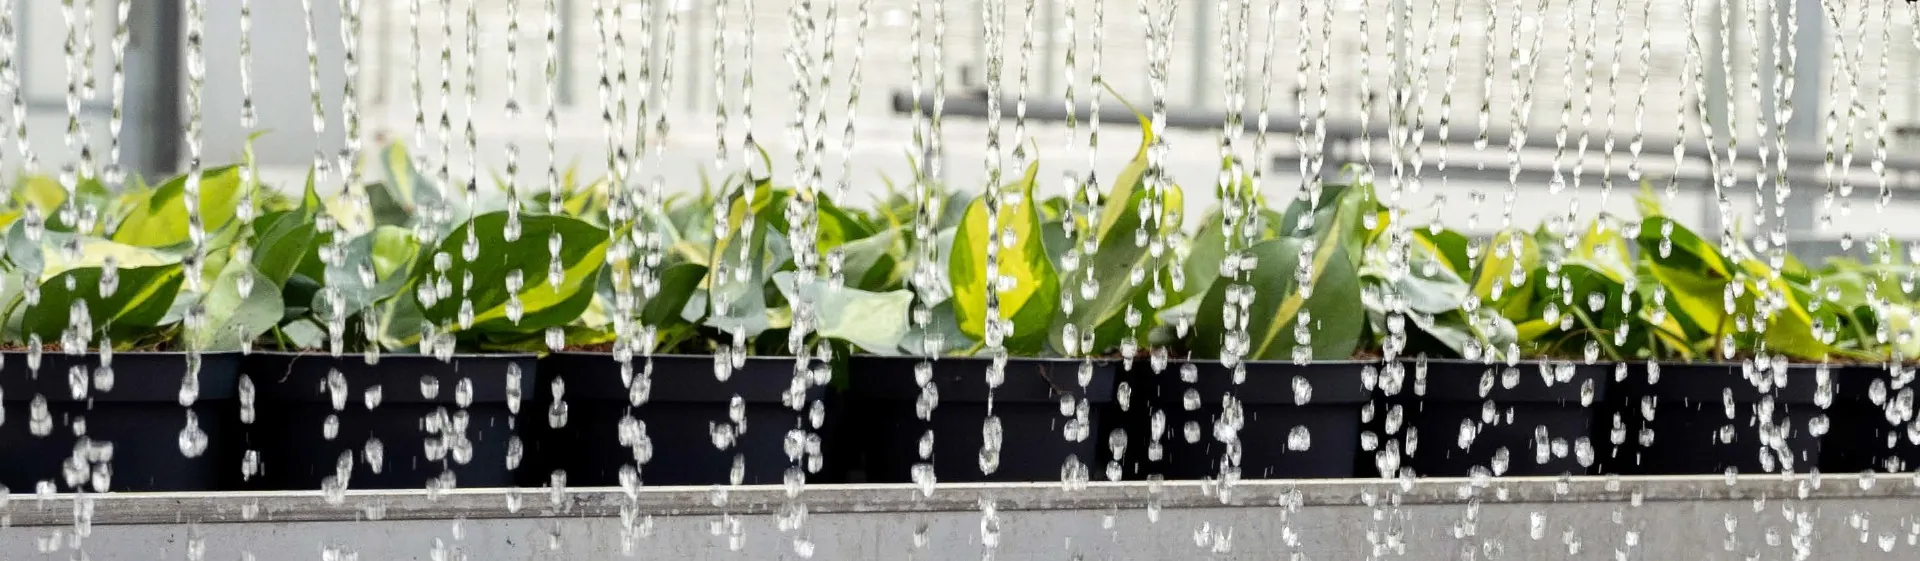
Using a sharp scissors, knife or pruning shears, cut off approximately ten to twenty centimetres of the plant, and make sure you do this one centimetre below a leaf. This way, you won’t leave any bare stems on the mother plant and you’ll have enough aerial roots for the cutting. Remove the excess foliage from the stem you've cut off, but make sure that there are one or two leaves at the top of the Scindapsus pictus. Make sure that the stem is submerged in the water, but not the leaves. If the leaves get wet, they may rot, and then you’ll have to start all over again. So pay close attention and make sure that the aerial roots are properly submerged in the water and that the leaf is not touching the surface of the water. Afterwards, you can place the cuttings in a well-lit (no direct sunlight!) and warm location so that they can grow well. Don't forget to change the water every week! The plant will grow roots after approximately three to four weeks.

Remove the cuttings from the water and place them in a pot containing damp soil. It is important that you do not pack the soil too tightly. This will not have a good effect on the Scindapsus pictus’ root growth. If you like, you can also dip the roots in cutting powder (rooting hormones). This will give your houseplant a boost during growth. And voilà! You’ve successfully cut your houseplant!